https://www.jb51.net/article/223573.htm
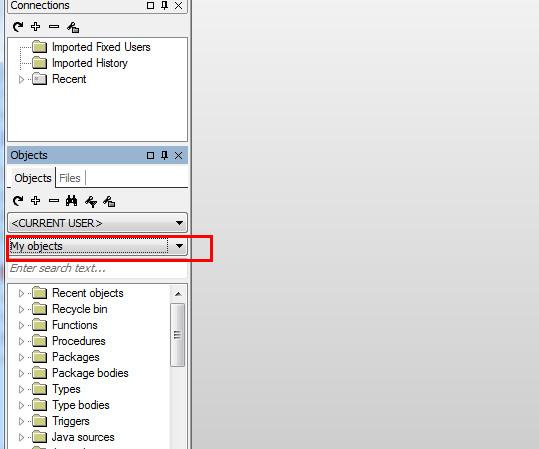
sqlplus 命令登录 Oracle数据库
方式1:
sqlplus / as sysdba
直接用sys登录,无须密码
方式2:
sqlplus username/password@ip:port/sid
sqlplus username/password@orcl – 简写(前提:配置了 TNS),以下同
方式3:(推荐)
sqlplus /nolog
conn username/password@ip:port/sid
https://jingyan.baidu.com/article/67508eb43cf7879ccb1ce47e.html
解决本机使用sqlplus登录sysdba提示权限不足
右键点击“我的电脑”选择“管理”
在“计算机管理”界面找到“本地用户和组”-“组”。并在相应的页面中找到名字为:ora_dba的组。
点击这个ora_dba的组,在弹出页面中查看下当前登录用户是否在这个组内,如果没在,那么点击添加吧。
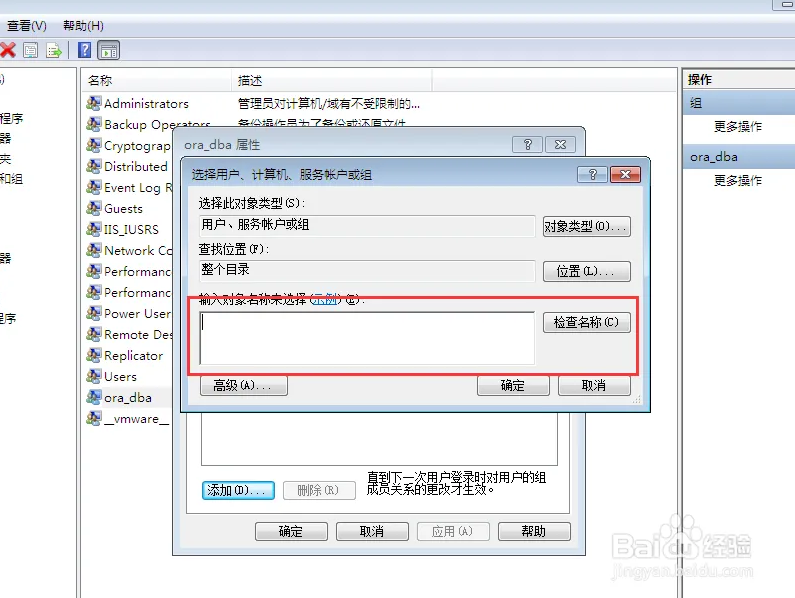
添加用户到ora_dba组的时候需要输入登录用户名。在“输入对象名称来选择”框中输入您希望使用sysdba登录的计算机用户,并点击检索名称。